How To Create an Ice Cream Parlor Table You Will Need and Love
ICE CREAM PARLOR TABLE AND SWEETHEART CHAIRS
We made a fun Coastal style Ice Cream Parlor table set I wanted to share with you. The tabletop was made from scratch and the chairs got a makeover. It started with two chairs that I got at a garage sale eons ago. After some use over the years as a vanity chair with round cushion and a platform for dolls and stuffed animals for our daughter, the chairs were in pretty bad shape. For years they have sat in the garage waiting for attention.
I could never bring myself to give the chairs away. They are vintage antique ice cream parlor twisted wrought iron sweetheart chairs. That’s a mouthful name for a chair isn’t it. Anyway, we gave them a makeover in Seaside blue.
Then we had this cute little table and two chairs with a tabletop that was in the worst shape imaginable so we took off the top and created an Ice Cream Parlor table to go with the wrought iron Sweetheart chairs.

Here’s a look at my beloved vintage Ice Cream Parlor Sweetheart chairs getting a makeover. The black is where we used Rustoleum Rust Reformer for metal to treat the rust and be ready to paint.

I really wish I had before photos to show you. Here’s the white and the original green color under the white coming through from chipping over the years and where we scuffed sections up with a scuff pad.
Vintage antique ice cream parlor twisted wrought iron sweetheart chairs.

I think they came out great and are ready for a whole new life. I hope you like seeing these two Sweetheart chairs look brand new as much as I do.

Again, I do wish I had the horrid tabletop before photo. This is not much of a before and after show, but I think you get the idea. The table base is fine, it just needed to be cleaned.
How we created the Ice Cream Parlor Set:

We had scraps of treated lumbar sitting around the garage and started to design the new tabletop. We cut about 1-1.2 inch strips with a table saw to make our slat ice cream parlor table. Here I am showing you how we put bolts in between to see how a slat table would look with spaces.
For those interested, I put the table measurements at the bottom of the post.


I recommend to prime and seal each slat for a good base coat before painting.
The paint colors we used for the Sweetheart chairs and table are Rustoleum American Accents 2x Ultra Cover Spray Paint Gloss in Seaside and Rustoleum Universal Satin All Surface in White.
It was really easy to spray paint the chairs. Don’t be afraid to get a can of Rustoleum for your own project. There are a lot of new colors to choose from now. I encourage anyone considering a project like this to go for it.


The spacers in-between the slats are made of scraps of Wolmanized wood as well. The spaces are not necessary, but they add a design to the tabletop and they keep the slats in position better.

The bottom vertical slats of wood keep the table slats straight as well as secures the base to the new top. Wood screws were used to secure all the parts.

The table base feet got a nice coat of Seaside blue. I think this made the stand 100% better than the original table.

The chairs on the far right and left are the original chairs for the table. We painted some spa blue sections to tie them in with the Ice Cream Parlor set and chairs creating seating for four.

Now I could not be happier with our new ice cream parlor table and vintage sweetheart chairs. It feels so good to turn an old nothing table into something special with scraps of wood and paint.

I’m sure we’re going to get a lot of use out of our new table and chairs next summer. It is such a nice set now there is no way I want to leave it outside over the winter.
Ice Cream Parlor Set – Tabletop:
- 13 Boards
- 24 inches long
- 1-1/2 inches wide and 1 inch thick.
- 3/8 inch spacers between the boards – not necessary.
- Makes a 24″ x 24″ table.
The only thing we paid for to do this project was the spray paint.

Good-bye summer. I can’t wait until next year.

If you have any questions about this project, please be sure to let me know in the comments below.
Thank you for making Housekaboodle part of your day.

If you’re new here, see some more projects we’ve done like:
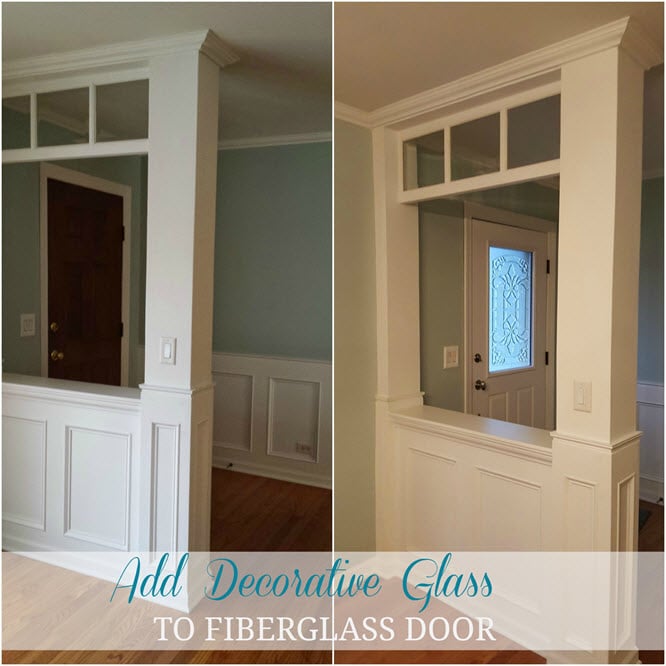
How to add a decorative glass window to a fiberglass door.
Update your home with budget-friendly interior slab doors.
and this Fun Cardboard Playhouse


